How to Build Your Own Dune Buggy from Scratch?
Have you ever dreamed of cruising the sand dunes in your very own custom dune buggy? Building a dune buggy from scratch may seem like a daunting task, but with the right planning and preparation, you can make the dune buggy of your dreams a reality.
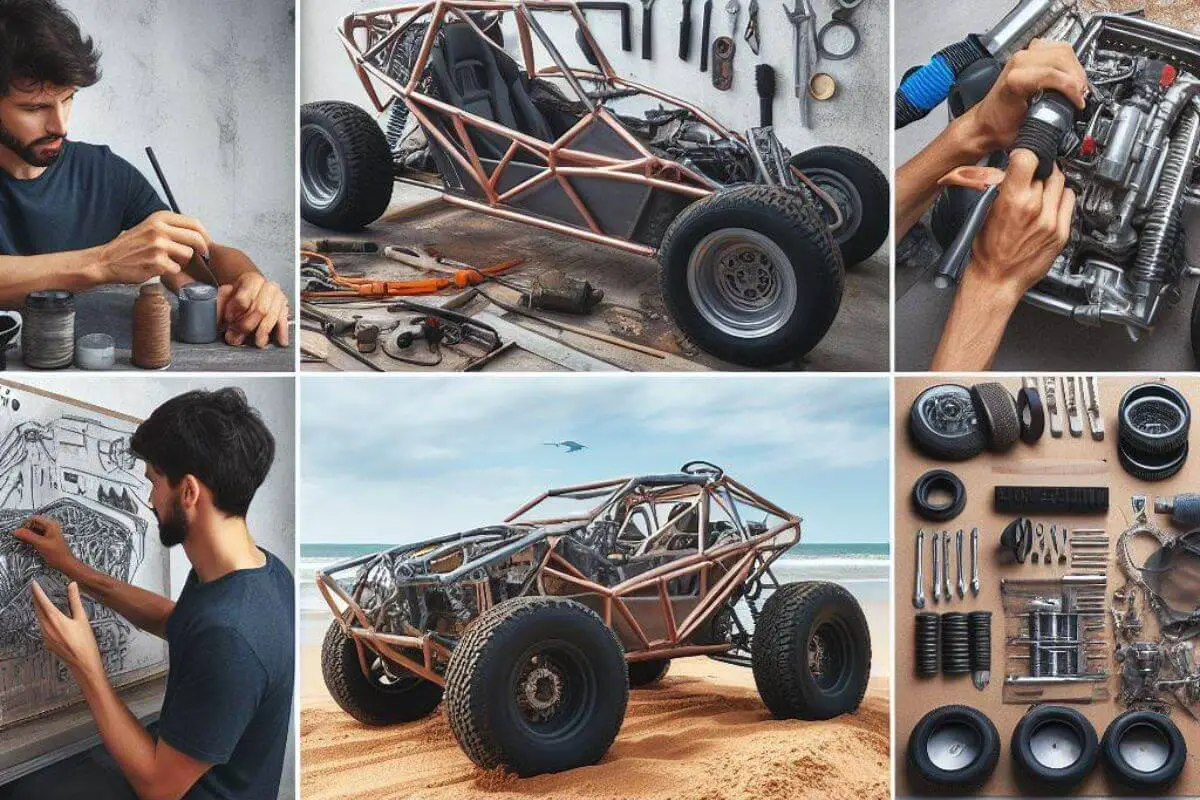
So how do you build a dune buggy? The process involves finding a suitable donor vehicle, designing and fabricating a custom frame, installing the engine and drivetrain components, adding a roll cage and body panels, and taking care of all the electrical wiring. With persistence and mechanical skills, you’ll be racing across the sand in no time.
In this comprehensive DIY guide, you’ll learn all the key steps for building your own badass dune buggy from start to finish. Let’s get started!
Selecting a Chassis and Drive Train
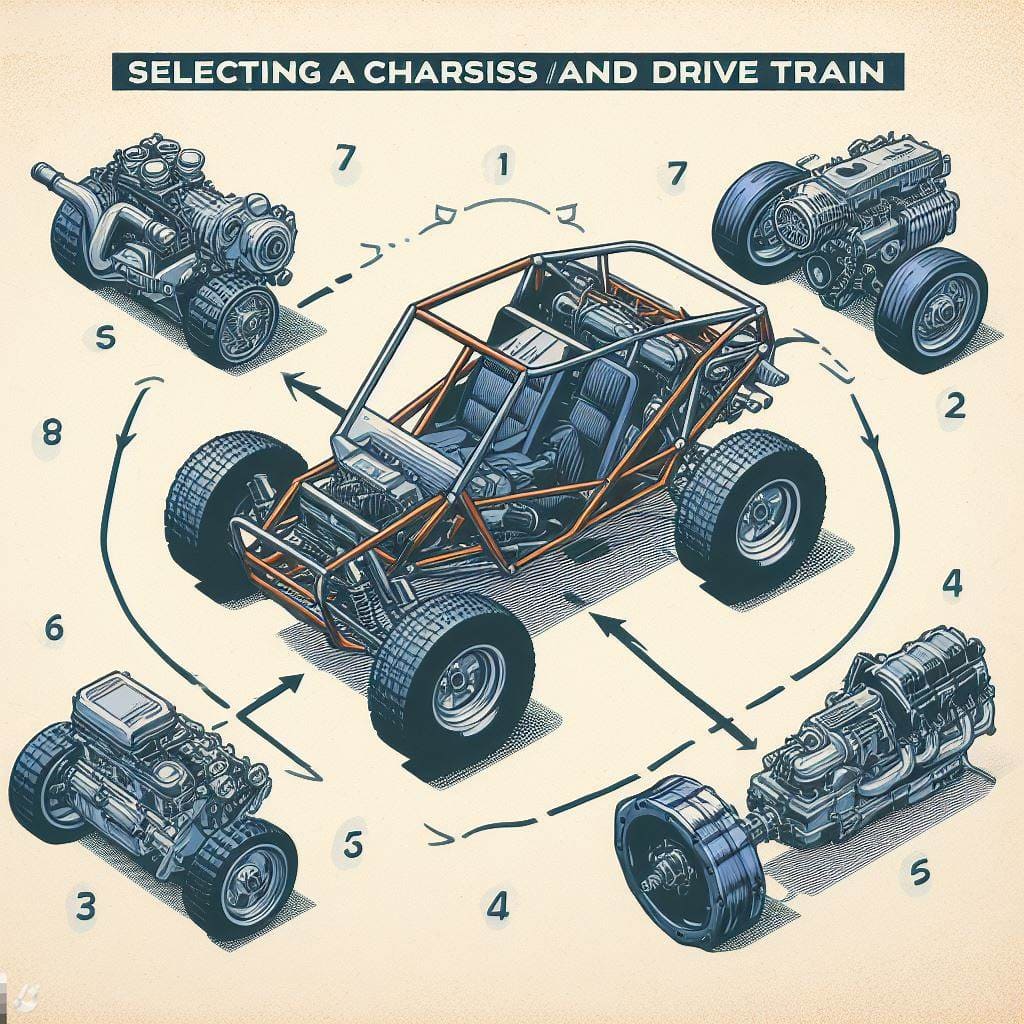
The foundation of every dune buggy build starts with choosing a suitable chassis and drivetrain. This will determine the size, handling, and power capabilities of your finished buggy.
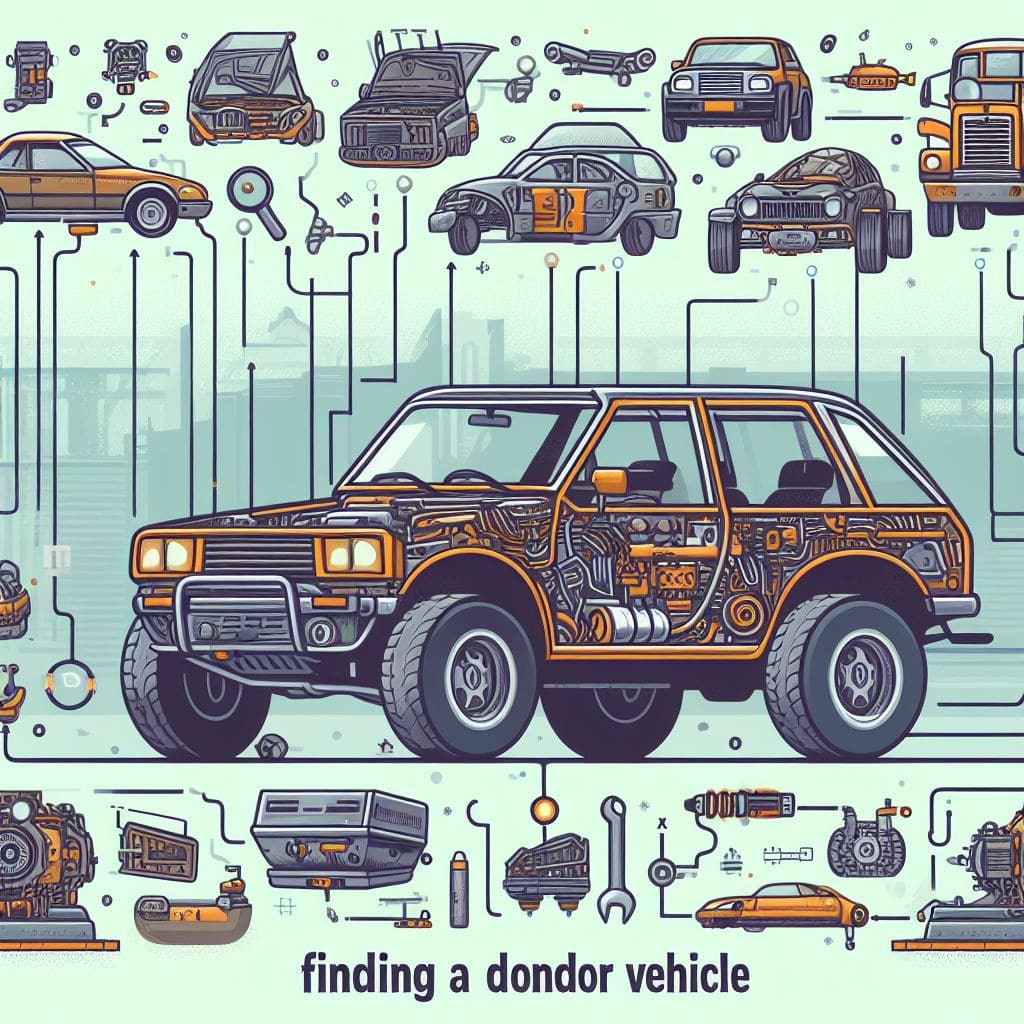
Finding a Donor Vehicle
The most popular option is to use a VW Beetle chassis. These offer good availability, ease of modification, and an air-cooled engine mounted out back. Other good donor car choices include:
- Classic Beetles – For a truly old school look
- VW Karmann Ghias – More legroom with same chassis
- VW Buses – Extra space but longer wheelbase
Front-engine, rear-wheel drive cars like Mustangs can also work with more extensive fabrication. Whatever donor car you choose, be sure to inspect the chassis, suspension, wiring, and drivetrain thoroughly.
Stripping the Donor Car
Once you’ve found a suitable donor, it’s time to gut it down to the bare chassis. This involves:
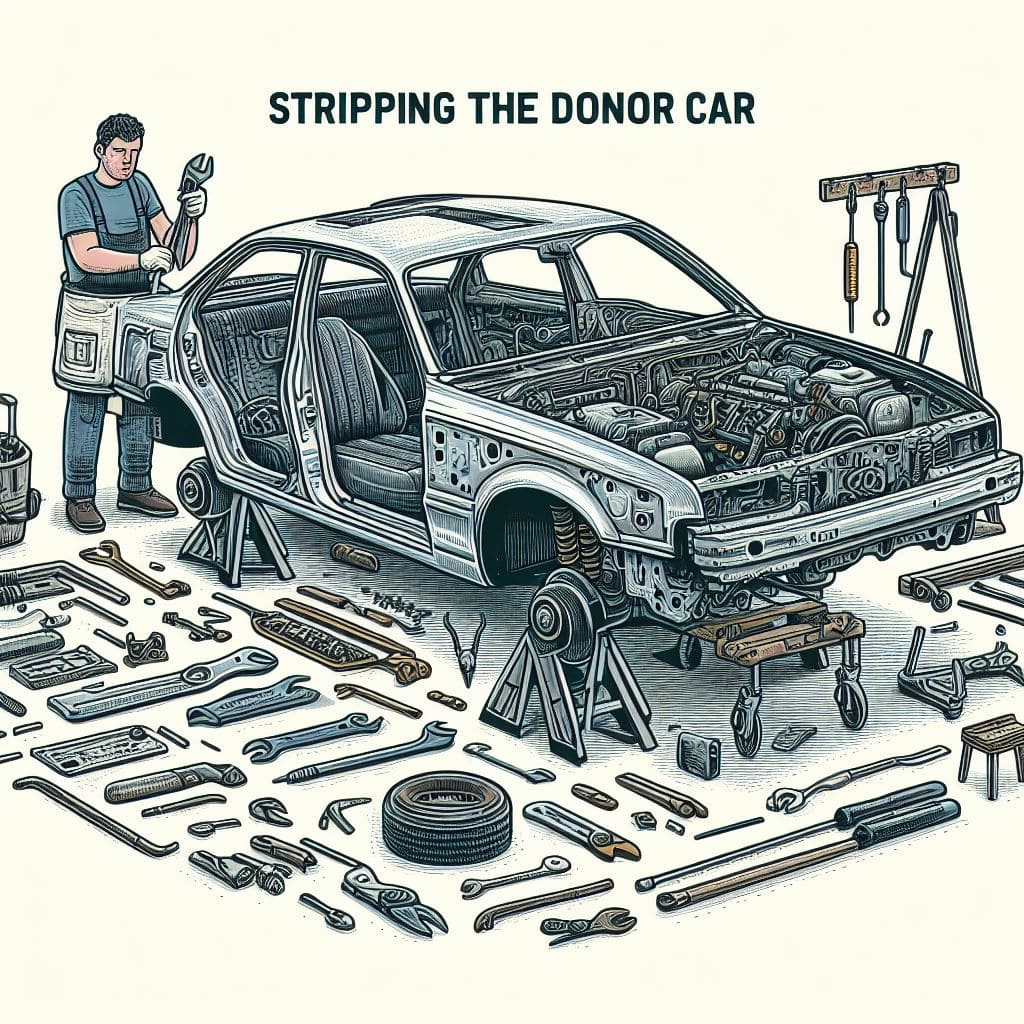
- Removing the body, interior, glass, and trim
- Extracting the engine and transmission if upgrading them
- Cleaning and degreasing the empty shell
Save any usable parts for your build. Sell or scrap the leftover hulk.
Preparing and Modifying the Chassis
With an empty chassis, you can begin test fitting components and modifying to suit your buggy plans. Key steps include:
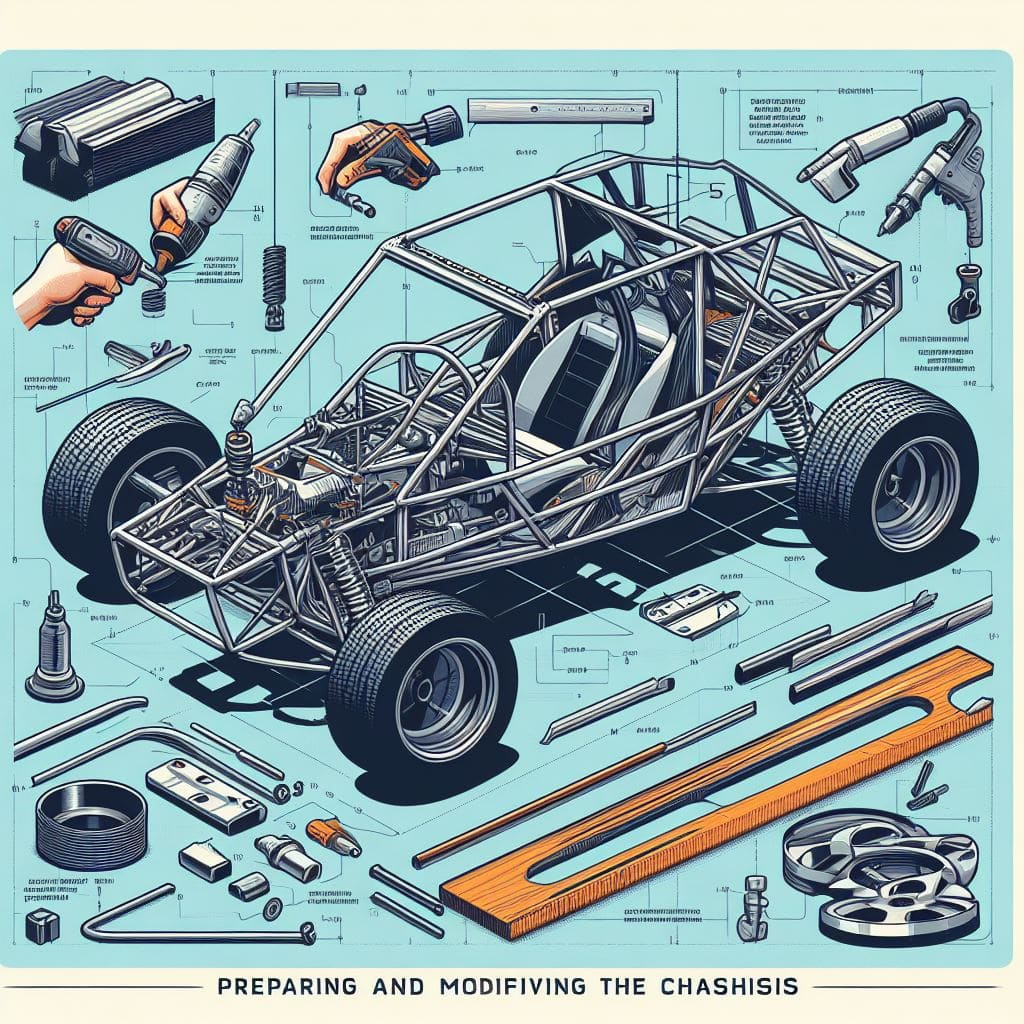
- Sandblasting to remove rust and paint
- Straightening and reinforcing the frame
- Adjusting wheelbase length if desired
- Planning engine and driver seating position
Designing and Building the Frame
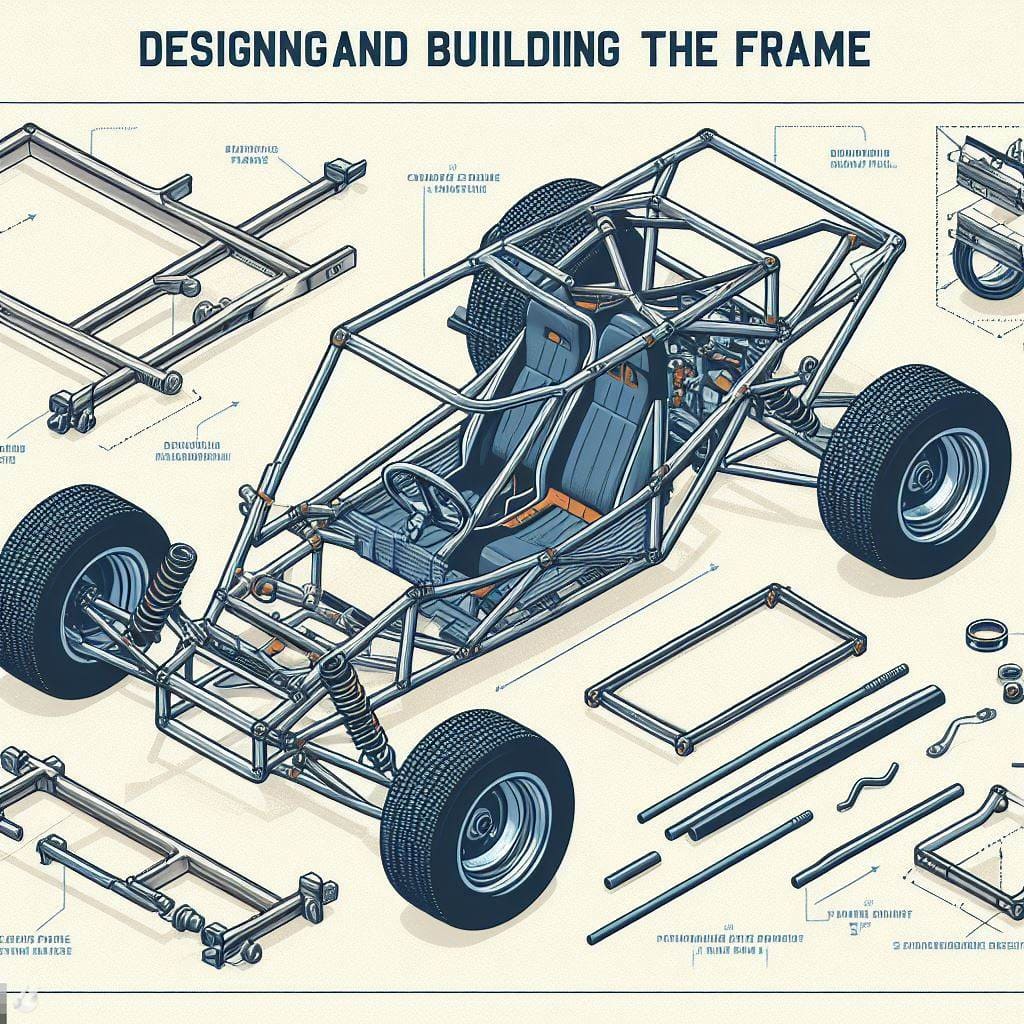
The frame ties all your dune buggy’s components together into a cohesive whole. Planning its design and fabrication is a key step.
Frame Design Options
Most DIY builders opt for a simple tube chassis frame made from steel tubing. This offers good strength at low cost. Other options include:
- Ladder chassis – More rigid but heavy
- Space frame – Lightweight but complex
- Combination tube and composite – Blends strength and lightness
Frame Materials
DOM or chromoly steel tubing with a 1.5″-2″ diameter and 0.120″ wall thickness offers a good balance of affordability, weldability and durability. For a lighter frame, TIG weld chrome-moly or aluminum tubing.
Frame Dimensions
Copy the stock VW Beetle wheelbase or modify to suit your needs. A longer wheelbase improves high speed stability. A shorter one enhances low speed agility. Just ensure proper suspension geometry.
Tube Notching and Fitting
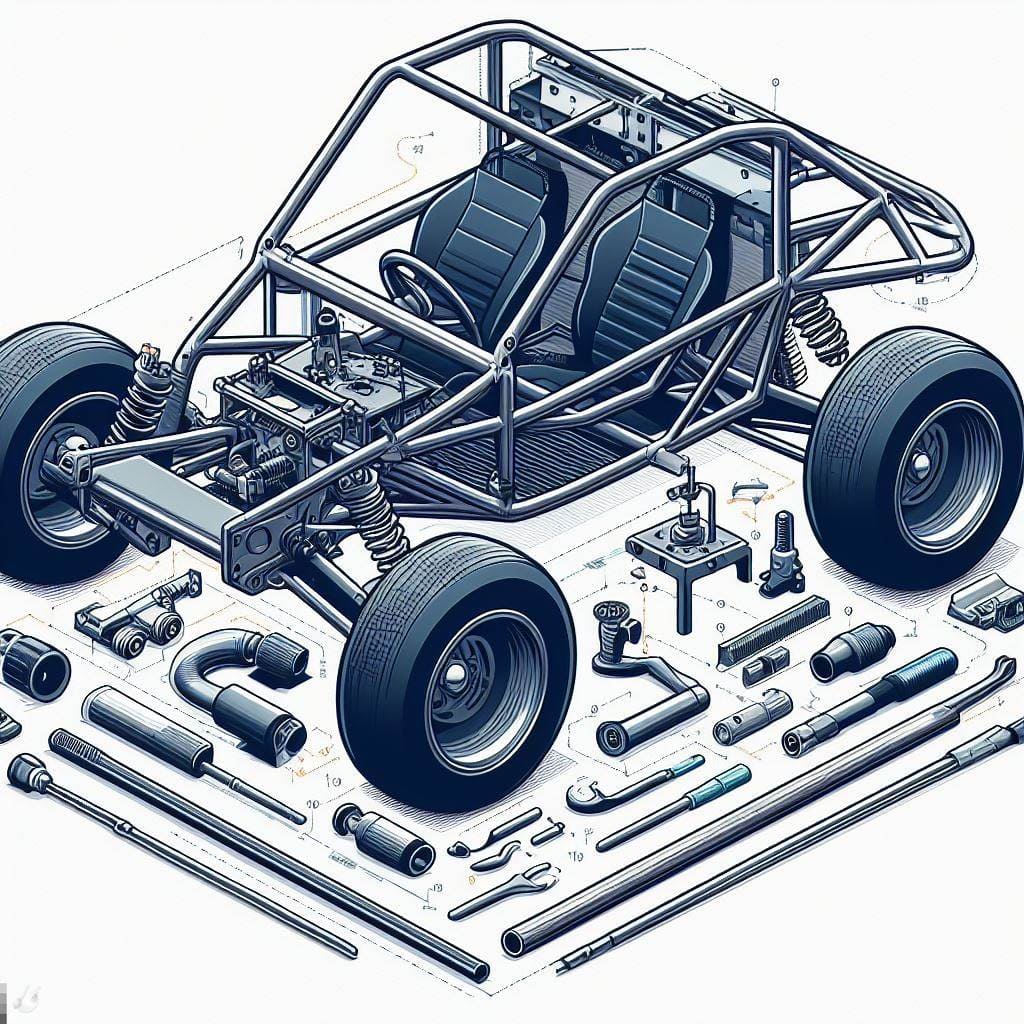
Carefully plan and measure your tube layout before cutting any metal. Use a tubing bender and notcher to prep the joints. Tack pieces together before final welding.
Welding the Frame
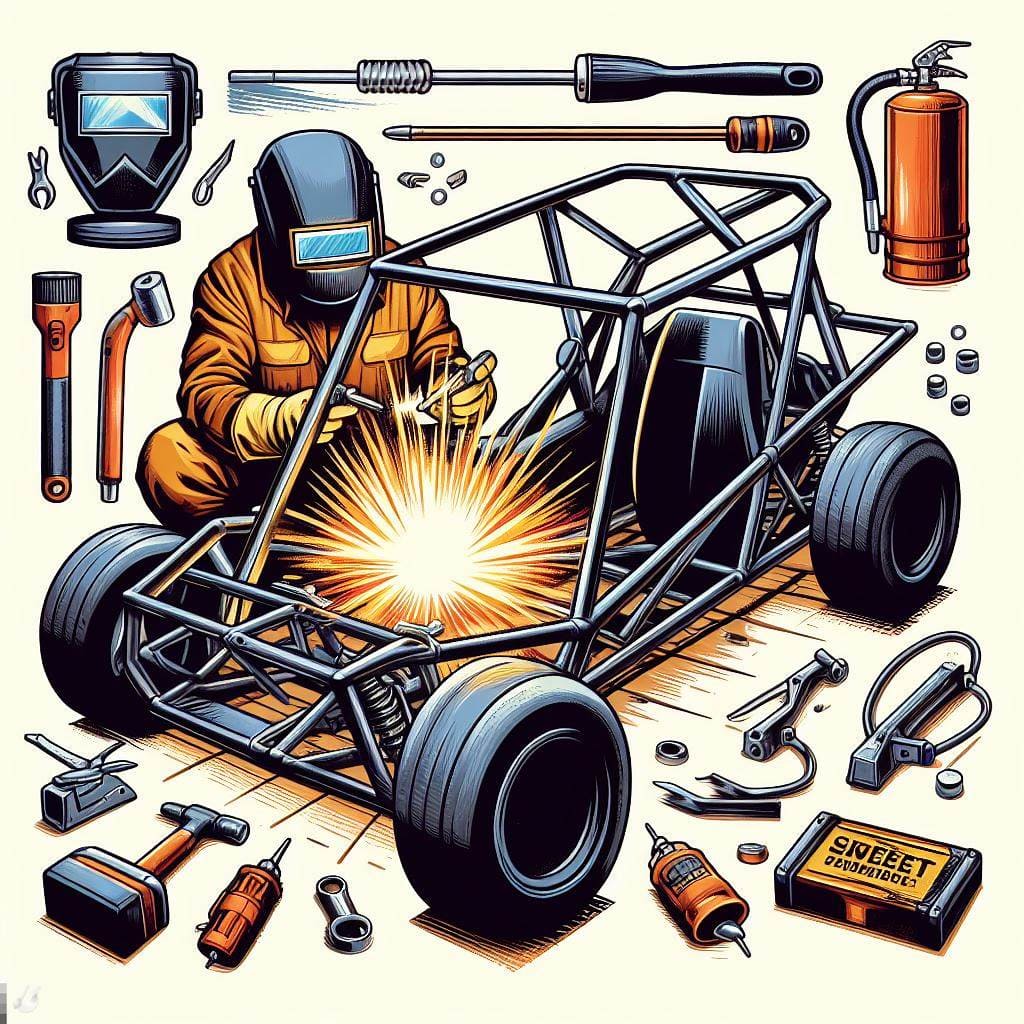
Most builders use MIG welding for ease, though TIG welding gives the prettiest results. Weld all around each joint for maximum strength. Add gussets at high-stress points.
Adding Suspension, Steering and Brakes
Don’t overlook the running gear elements that connect your dune buggy frame to the terrain. Quality suspension, steering and brakes are essential!
Suspension Considerations
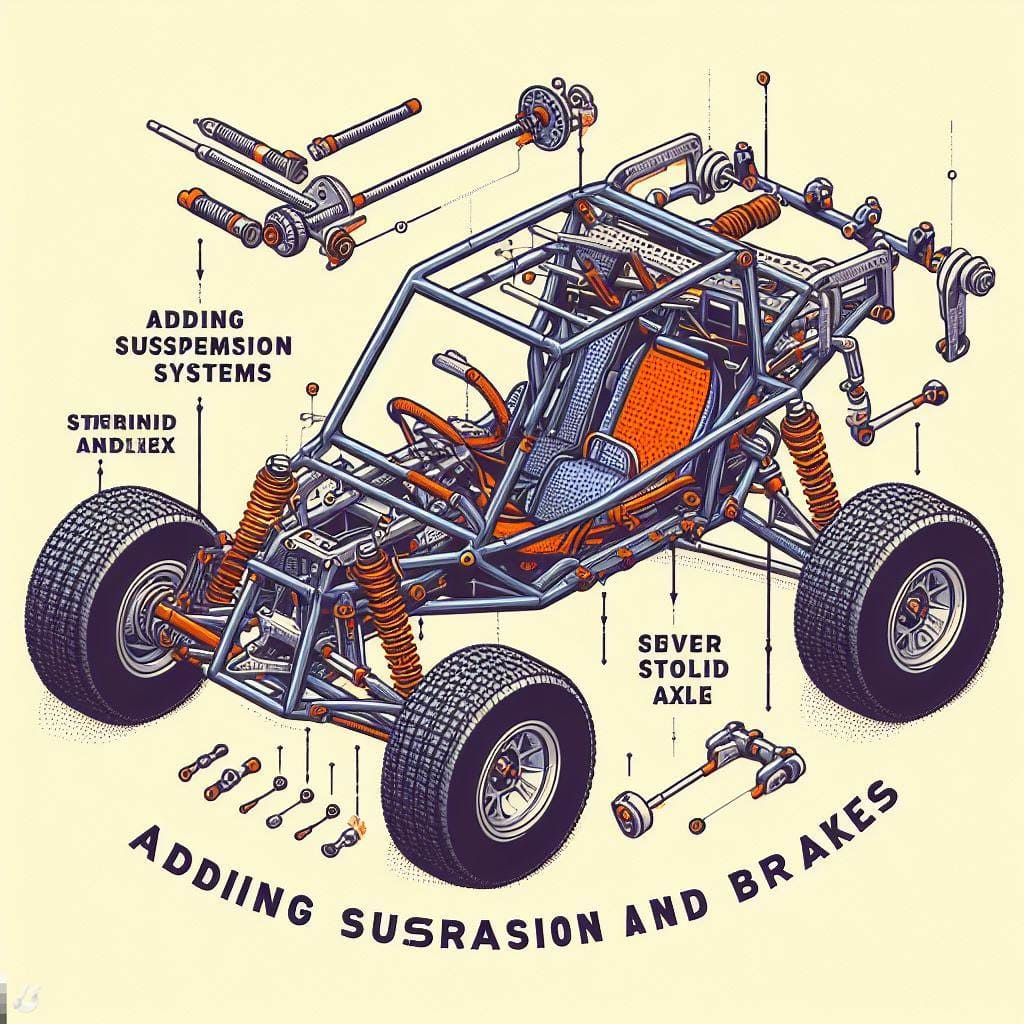
The stock VW Beetle torsion arm front and swing arm rear suspension works great for most dune buggy builds. If altering the wheelbase, ensure proper suspension geometry is retained. Extended travel shocks and stiffer coil springs improve off-road handling.
Steering System
A basic steering linkage with tie rods suits most dune buggies. Upgrade to a rack and pinion system for quicker steering response. Make sure all joints are sturdy and components are secured firmly to the frame.
Braking Components
Dual circuit hydraulic brakes with front discs and rear drums provide excellent stopping power. Use a tandem master cylinder and proportioning valve for balanced brake bias distribution. Stainless steel lines resist corrosion.
Fabricating the Body and Roll Cage
Now it’s time to give your dune buggy its distinct look and protect the driver.
Buggy Body Options
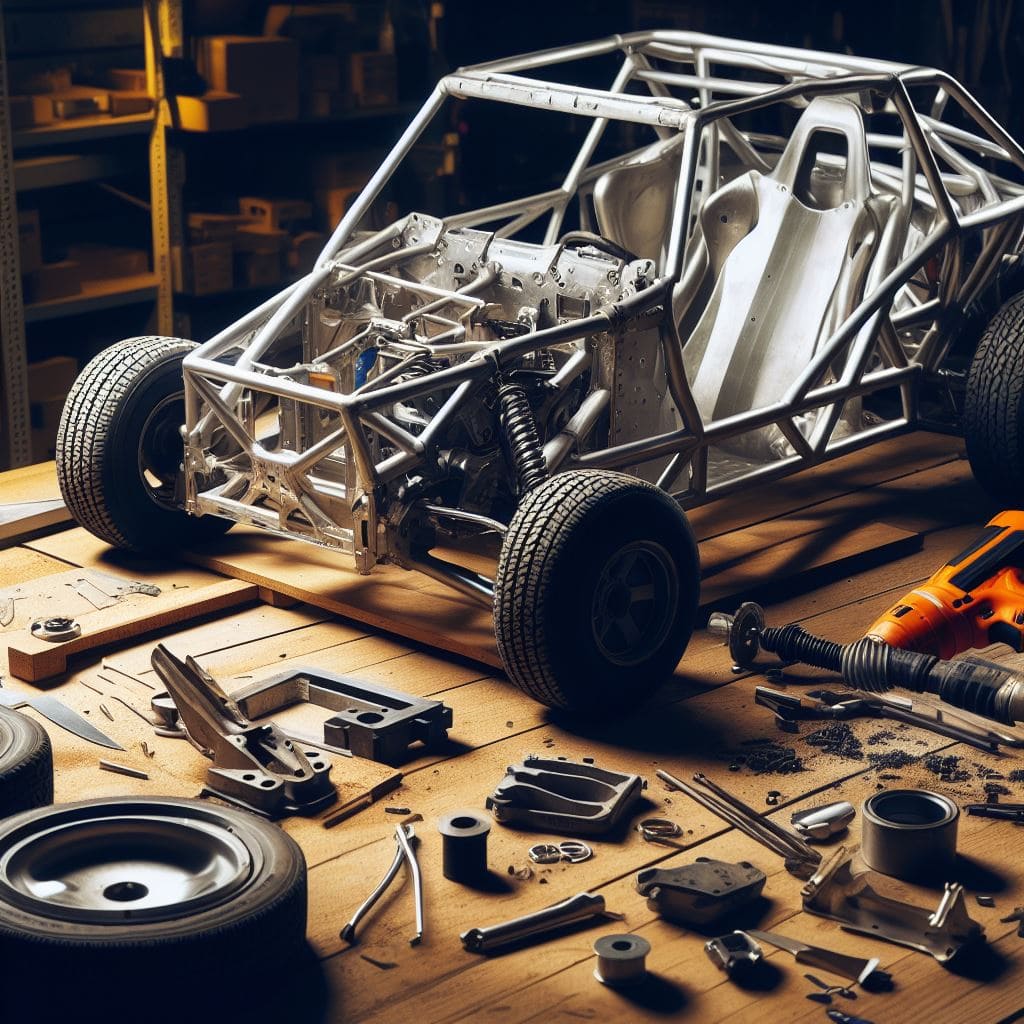
An open-topped minimalist body is typical of sand rails. For more security and style, a full fiberglass body evokes classic Baja buggies. Metal panels are durable but prone to damage.
Building the Roll Cage
A well-integrated roll cage is vital for safety. Use thick-wall steel tubing and follow published plans for shaping the halo bars, door bars, and bracing. Gusset and weld all joints with care.
Final Body Work
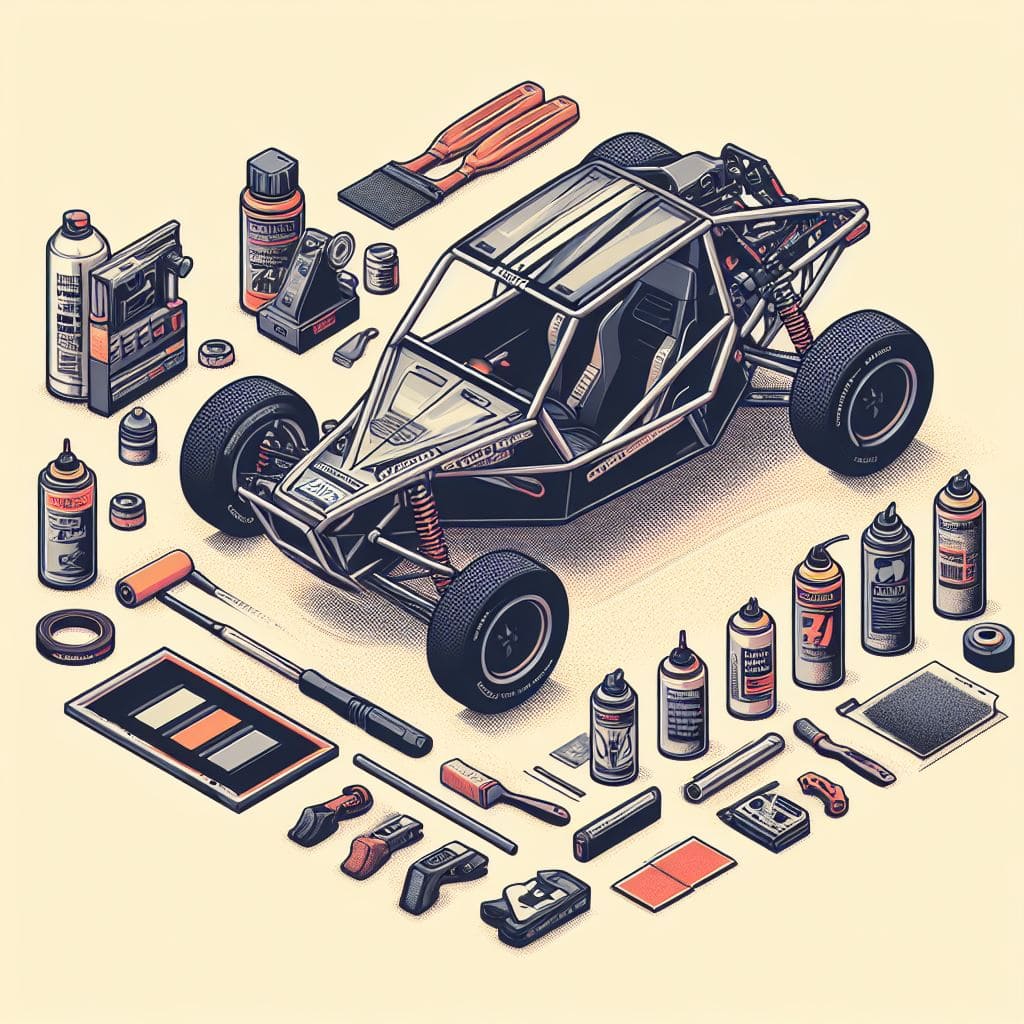
Test fit the panels before attaching. Use rivets or bonding agents to affix the components in place. Sand out any rough spots before applying colorful paint or a custom wrap. Add pads for driver comfort.
Wheels, Tires and Drivetrain
Matching the optimal running gear components will let your dune buggy fling sand with ease.

Wheels and Tires
Aluminum wheels are lightweight yet strong. Opt for a 10″-15″ diameter depending on chassis height. Mount chunky off-road tires sized 25″-40″ for max traction and cushioning on the sand.
The Drivetrain
A VW air-cooled engine paired with the stock transmission works great. Or upgrade to a more powerful water-cooled engine and customized drivetrain. Just ensure all components are aligned and solidly mounted.
Axles and Differentials
Heavy duty axle shafts and differentials withstand hard off-road use. A limited-slip diff provides extra traction. Suspend axles from the chassis to isolate them from impacts.
Electrical System and Components
Don’t let faulty wiring ruin your dune buggy fun. Plan the electrics carefully.
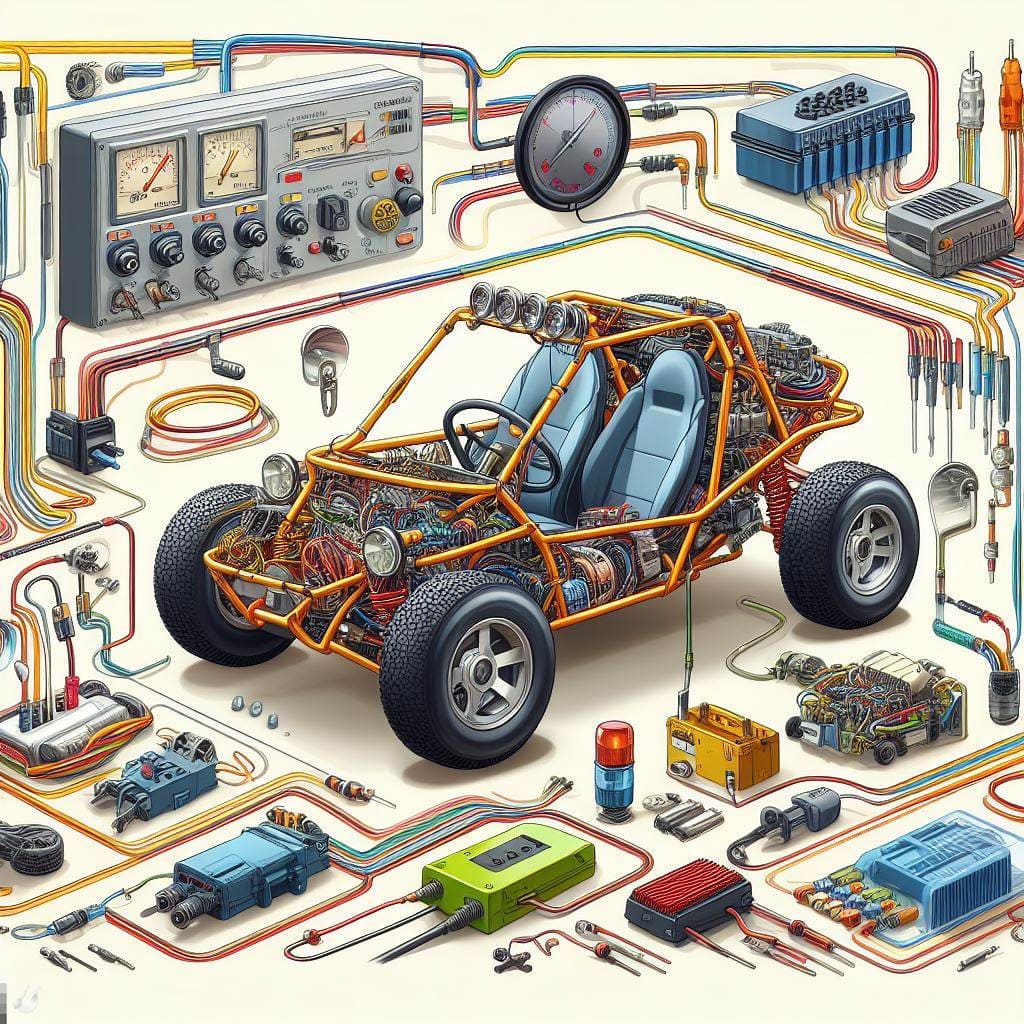
Circuitry and Fusing
Use large gauge automotive wiring protected by a fuse box. Plan circuits for lighting, engine, accessories, etc. Use relays for high-draw components.
Instrumentation
Vital gauges like tachometer, speedometer and temperature are needed. Add other accessories like a stereo, GPS or phone charger if desired.
Lights and Signals
Install headlights, brake lights, blinkers and hazard lights for road visibility and legality. LED lights draw less power and withstand vibration.
Battery and Cutoff
Mount a large 12V or 24V deep cycle battery securely near the engine. Install a master cutoff switch to de-power the buggy when not in use.
Final Assembly and Testing
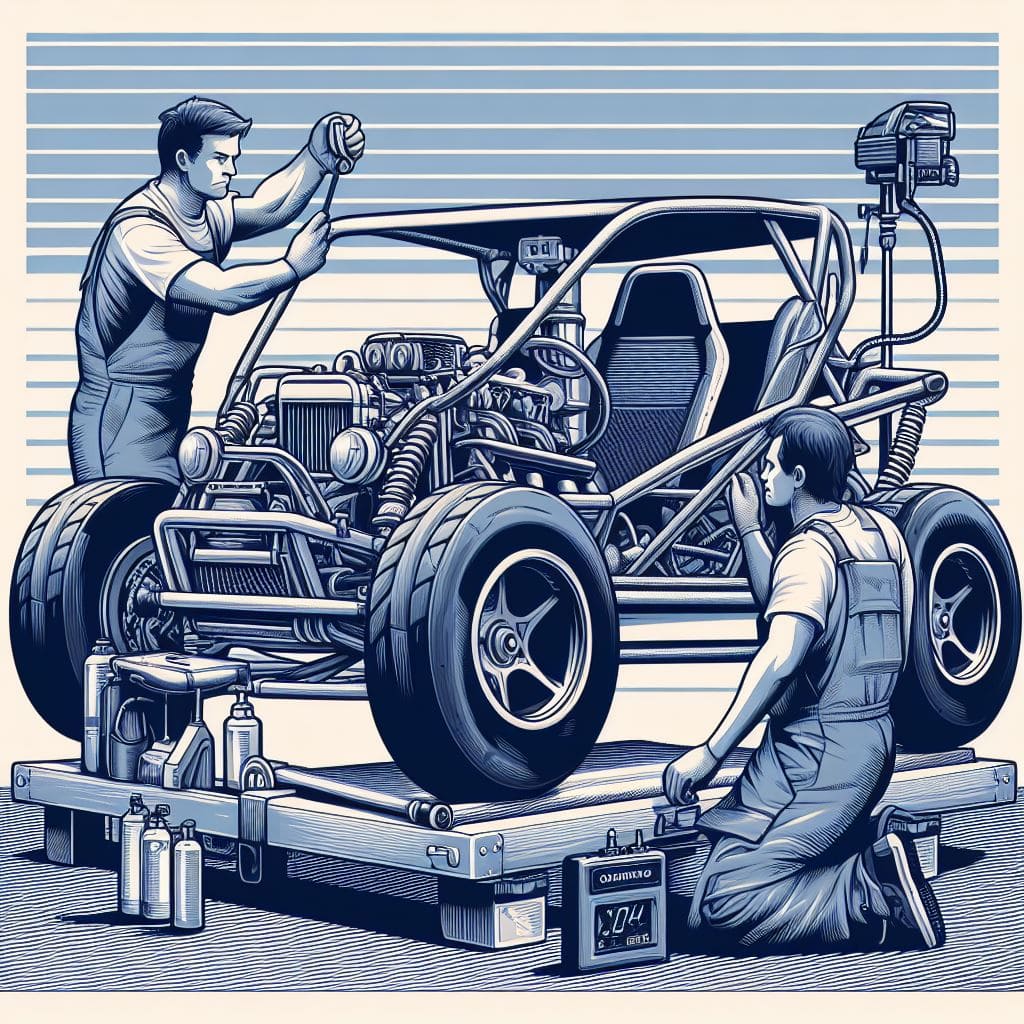
You’re so close now! Finish up by:
- Bolting in the engine and drivetrain
- Attaching the body panels, cage and accessories
- Bleeding the brakes and filling fluids
- Initial start-up and tune
Fix any issues that appear and get ready for that first epic dune run!
Resources for Parts and Knowledge
Hopefully this guide has demystified the major steps for building a dune buggy. Use these resources to find parts and connect with the dune buggy community:
- Meyers Manx – For fiberglass bodies and chassis kits
- JC Whitney – Large catalog of spare VW parts
- TheSamba.com – Classifieds and forums to find parts
- Local VW clubs – Join one to meet fellow enthusiasts
- YouTube – Tutorials on all aspects of buggy building
- Dune Buggy Books – How-to guides with step-by-step instructions
The sense of satisfaction you’ll get driving your hand-built dune buggy is second to none. With this guide, you now have all the key information needed to plan out your custom off-road ride. Start scouring junkyards for the perfect donor VW, make a detailed build plan, and get welding! Your dream machine awaits.
Conclusion
Building a dune buggy from scratch takes mechanical skills, time and persistence. But with the right donor vehicle chassis, custom-designed frame, beefy drivetrain and quality components throughout, you can have a thrilling sand-conquering machine tailored to your exact specifications.
This guide has walked through the complete process, from selecting a chassis to final testing. Keep it handy as you source parts, wrench away and inevitably get stuck on certain steps. The community is also there to provide help and inspiration.
So are you ready to burn rubber on the dunes in your own radically customized buggy? Get that project started and make it a reality! From the first cut of metal to the roar of the engine, you’ll gain invaluable hands-on skills. And arriving at the dunes in your hand-built dune buggy is a feeling that just can’t be beat.

