Dune Buggy Wiring Kit: A Comprehensive Guide to Choosing and Installing the Best Kit for Your Vehicle
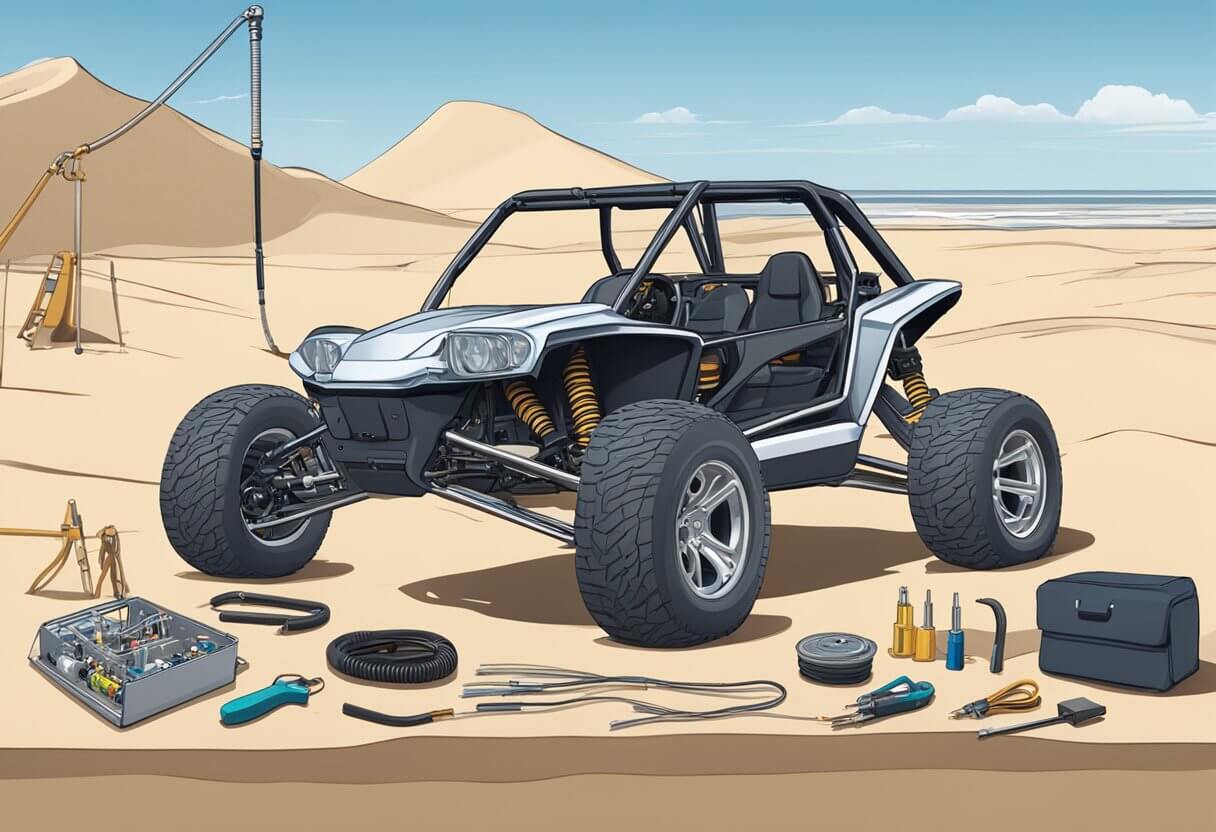
Dune buggies are a fun and exciting way to enjoy off-road adventures. However, building one from scratch can be a daunting task, especially when it comes to wiring. A dune buggy wiring kit is an essential component that simplifies the process of wiring your buggy. It includes all the necessary components and instructions to get your buggy up and running in no time.
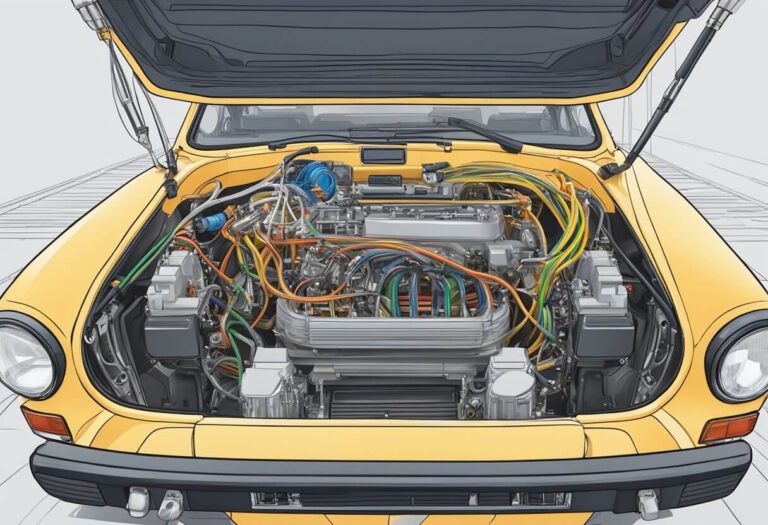
Understanding the basics of dune buggy wiring is crucial before choosing the right wiring kit. Wiring a dune buggy involves connecting various electrical components, such as headlights, taillights, turn signals, and ignition systems. A wiring kit includes all the necessary wires, connectors, and fuses required to connect these components. It is important to choose a wiring kit that is compatible with your dune buggy’s make and model to ensure a seamless installation.
Key Takeaways
- A dune buggy wiring kit simplifies the process of wiring your buggy and includes all the necessary components and instructions.
- Understanding the basics of dune buggy wiring is crucial before choosing the right wiring kit.
- Choosing a wiring kit that is compatible with your dune buggy’s make and model ensures a seamless installation.
Understanding Dune Buggy Wiring Basics
When it comes to dune buggy wiring, it is important to have a basic understanding of the electrical system. A wiring kit is designed to simplify the electrical system of a dune buggy, making it easier to install and troubleshoot any electrical components. Here are some basics to get started.
Components of a Wiring Kit
A dune buggy wiring kit typically includes all the necessary wires, connectors, fuses, relays, and switches required to ensure reliable and safe performance. Some of the most common components found in a wiring kit include:
- Battery cables
- Ignition switch
- Headlight switch
- Turn signal switch
- Fuse box
- Wiring harness
- Ground wire
Each component plays a critical role in ensuring the electrical system of the dune buggy functions properly.
Wiring Diagrams and Schematics
Wiring diagrams and schematics are essential when it comes to understanding dune buggy wiring. These diagrams provide a visual representation of the electrical system and show how each component is connected. A wiring diagram can help identify potential issues and make troubleshooting easier.
Wiring diagrams and schematics can change for different dune buggy makes and models. Use the right diagram for your vehicle to avoid problems.
Having basic knowledge of dune buggy wiring is important for off-road fun. A wiring kit makes the electrical system simpler. Wiring diagrams and schematics help find and fix issues.
Choosing the Right Wiring Kit
When it comes to wiring a dune buggy, choosing the right wiring kit is crucial. A good wiring kit can save you time, money, and frustration by providing clear instructions and an organized layout. Here are some factors to consider when choosing the right wiring kit for your dune buggy.
Compatibility with Your Dune Buggy
The first thing to consider when choosing a wiring kit is compatibility with your dune buggy. Not all wiring kits are created equal, and some are designed specifically for certain models or types of dune buggies. Make sure to choose a wiring kit that is compatible with your dune buggy’s make and model. This will ensure that the wiring kit fits properly and that all of the necessary components are included.
Quality and Durability
Another important factor to consider when choosing a wiring kit is quality and durability. A good wiring kit should be made from high-quality materials and should be designed to withstand the harsh conditions of off-road driving. Look for a wiring kit that is made from heavy-duty wires and connectors, and that comes with a high-quality fuse box and other components. A good wiring kit should also be easy to install and should come with clear instructions and diagrams.
Installation Guide
Preparation and Safety
Before starting the installation process, it is essential to take the necessary precautions to ensure safety. Here are some steps to follow:
- Disconnect the battery: It is crucial to disconnect the battery to avoid any electrical hazards.
- Wear protective gear: It is recommended to wear protective gear such as gloves, goggles, and a face mask to avoid any injuries.
- Read the instructions: Before starting the installation process, read the instructions carefully to understand the wiring kit’s components and installation process.
Step-by-Step Installation Process
Here is a step-by-step guide to installing a dune buggy wiring kit:
- Remove the old wiring harness: First, remove the old wiring harness from the vehicle and make sure to label all the wires. This will make it easier to install the new wiring kit.
- Install the new wiring harness: Install the new wiring harness by connecting the wires to their respective components. Follow the wiring diagram provided with the kit to ensure that all the wires are connected correctly.
- Connect the battery: Once the new wiring harness is installed, reconnect the battery and test all electrical systems to ensure that everything is functioning correctly.
- Secure the wiring: It is essential to secure the wiring to prevent any damage or wear and tear. Use zip ties or wire loom to secure the wiring to the vehicle’s frame.
By following these steps, you can install a dune buggy wiring kit safely and efficiently. It is crucial to take your time during the installation process and follow the instructions provided with the kit to ensure that all electrical systems function seamlessly.
Troubleshooting Common Issues
When it comes to dune buggy wiring, it is essential to know how to troubleshoot common issues that may arise. This section will cover two of the most common issues: electrical short circuits and connection failures.
Electrical Short Circuits
An electrical short circuit is a common issue that can cause serious problems if not addressed promptly. It occurs when a wire or component comes into contact with a ground or another wire, causing a current to flow where it shouldn’t. This can cause wires to overheat and potentially start a fire.
To troubleshoot an electrical short circuit, follow these steps:
- Turn off the power to the dune buggy.
- Inspect the wiring harness for any visible signs of damage or wear.
- Check all connections for tightness and corrosion.
- Use a multimeter to test for continuity between the wires.
- Isolate the short circuit by disconnecting each wire one at a time until the short circuit is no longer present.
- Repair or replace the damaged wire or component.
Connection Failures
Connection failures can occur when a wire or component is not properly connected. This can cause intermittent electrical problems, including a loss of power to certain components.
To troubleshoot a connection failure, follow these steps:
- Turn off the power to the dune buggy.
- Inspect the wiring harness for any visible signs of damage or wear.
- Check all connections for tightness and corrosion.
- Use a multimeter to test for continuity between the wires.
- Repair or replace any damaged or corroded connectors.
- Ensure that all connections are properly seated and tightened.
By following these troubleshooting steps, most common dune buggy wiring issues can be resolved. However, if the issue persists, it may be necessary to seek the assistance of a professional mechanic or electrician.
Maintenance and Care
Regular Inspection Tips
To ensure that a dune buggy’s wiring harness functions properly and safely, it is essential to conduct regular inspections. Here are some tips to help you maintain your dune buggy’s wiring harness:
- Check the wiring harness for any signs of wear and tear, such as frayed wires or loose connections. If you notice any damage, replace the affected wires or connectors immediately.
- Inspect the battery terminals for any signs of corrosion. If you notice any corrosion, clean the terminals with a wire brush and apply a thin layer of petroleum jelly to prevent further corrosion.
- Check the fuses and relays to ensure that they are functioning properly. Replace any blown fuses or faulty relays immediately.
Replacement and Repair
Despite regular maintenance, wiring harnesses can still fail due to wear and tear or other factors. Here are some tips on how to replace or repair a faulty wiring harness:
- Use a wiring diagram to identify the wires and connectors that need to be replaced or repaired.
- Remove the damaged wires or connectors and replace them with new ones.
- Use electrical tape or heat shrink tubing to secure the wires and connectors in place.
- Test the wiring harness to ensure that it is functioning properly before using the dune buggy.
By following these tips, dune buggy owners can ensure that their wiring harnesses are properly maintained and repaired, ensuring that their vehicles are safe and reliable.


